Wednesday, January 30, 2013

Craft Room Crafts

So Dan and I moved into a small 3 bedroom house back in July. I love having all this space, but I really didn't know what to do with it either. We changed one bedroom into our guest room and the other bedroom we decided could be my office/craft room! My craft room is a project in itself! I have finally gotten around to  organizing it which was the first step. And just recently I bought a plain bulletin board to make into a cute accent piece to the craft room. This is how I made my plain, boring bulletin board into a beautiful craft masterpiece! ;)


This is the bulletin board that I bought from Joanns for $6.00 after a 50% coupon!


The first thing I did was pick the fabric that I wanted to decorate my room around. It is a beautiful navy, green, white, and light blue floral fabric that I love! I decided to pick the deepest color in the fabric to paint my bulletin board. The deepest color is navy so I taped around the edges of the board and painted the sides navy blue with a simple acrylic paint. I used a small roller brush and it took two coats to get it on real thick. The whole thing took me only 2 hours which is a breeze!


After the paint dried, I cut the fabric to the size of the board and used cool metal tacks to keep it in place at the corners. Now I have a fun bulletin board to display crafts and post pictures of crafts I would like to do!

P.S. I found these cute buckets at the Target $1 spot and thought they would go so well in my craft room. I divided my craft tools into each one - one for markers, one for scissors, etc.


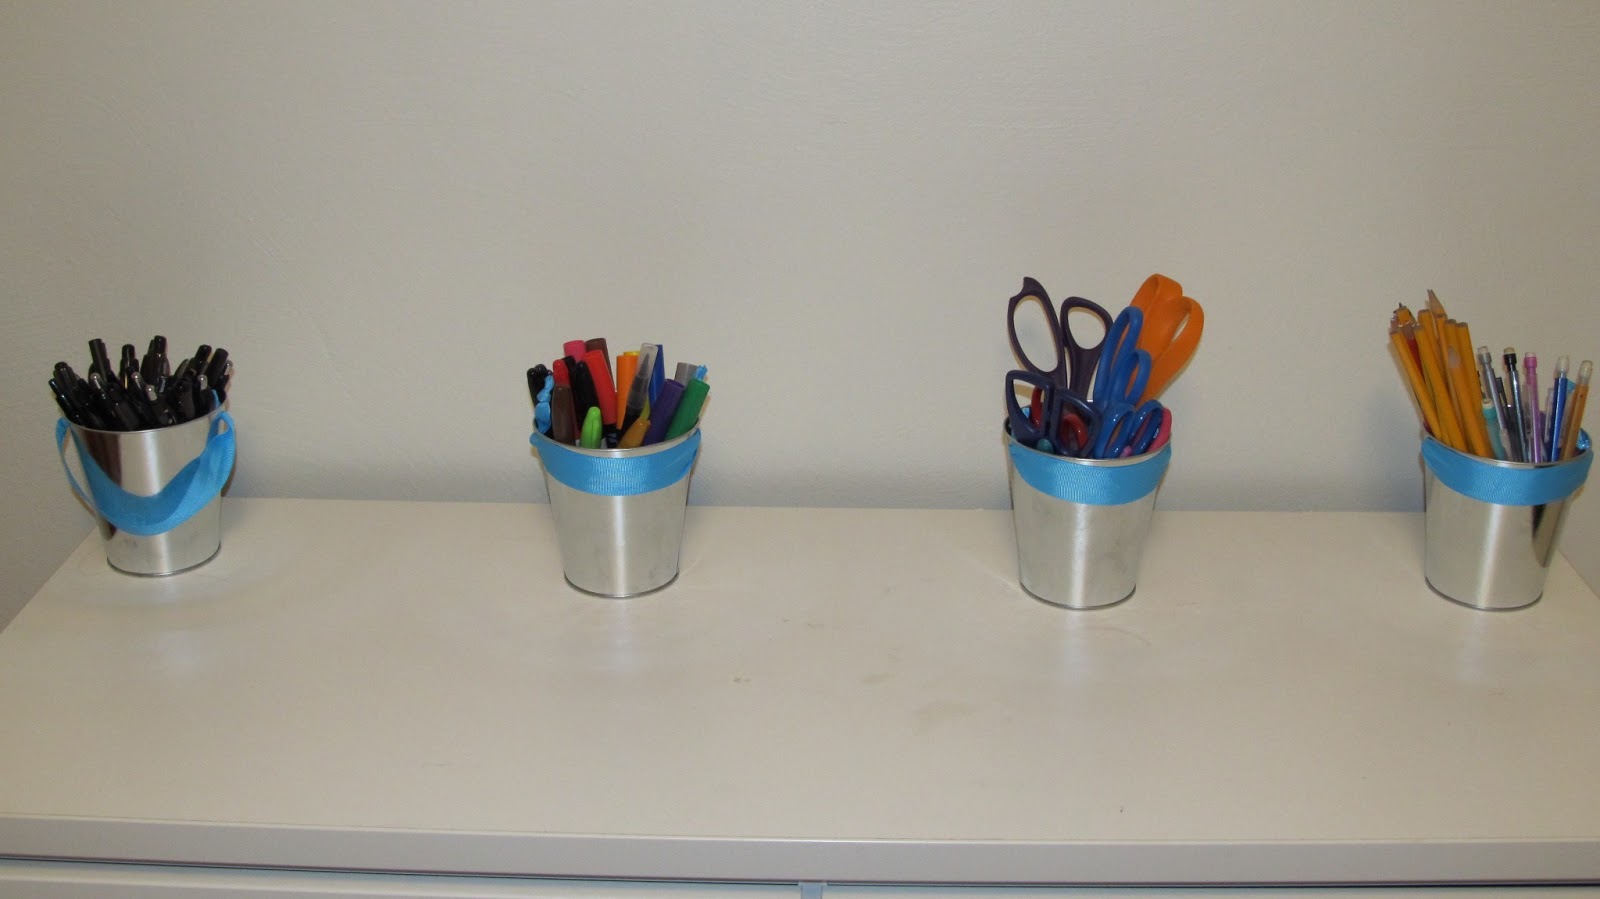
I love the pretty ribbons!


Saturday, January 26, 2013

Favorite Fishies

I decided I ought to contribute to this blog since I'm supposed to be one of the authors and all...  With Lent fast approaching (difficult to believe... Christmas feels like yesterday) I thought I'd share one of my fast and easy favorite fish recipes my friend and I discovered a couple years ago.

To begin, I am a picky sea food eater.  If it has a shell, I will probably pick at it and grimace.  If it's chewy like shrimp anything or calamari, I will politely say NO thank you.  I am beginning to develop a taste for crab meat, even though it's been slow-a-coming. But give me real fish like salmon, walleye or rainbow trout... and you'll wonder what happened to dinner! 

I used to buy my fish fresh at a grocery store, mostly at Wegman's since I've been living out East.  I still do sometimes, but we all know that fresh deli meats and fish break the bank fast.  To try to save some money, I began searching other stores, and discovered these frozen, wild caught salmon fillets that come vacuum sealed packages. They are delicious and you can get them at Wal-mart for a very reasonable price.  

In addition to salmon, you will need a rice of your choice (I prefer white for this recipe), coconut milk, salt, pepper, olive oil, green onions, and Hoisin Sauce.  

To begin, add your desired amount of rice to a pot and add slightly under the suggested amount of water. I add a touch of olive oil to prevent sticking as well.  Cook on medium.  As rice boils and when water mostly evaporates, add the coconut milk to the rice and let it cook down.  I suggest about half a can of coconut milk for a cup of rice.  

Thaw fish in package (I use hot water and it takes 2-5 minutes)  and add to a skillet or baking dish.  I've cooked both on stove top and the oven.  Add olive oil, salt, pepper, and begin to cook or preheat oven to 375 degrees and place on middle rack.  I find the stove top to be quicker.  


I'm not entirely certain how long I cook it for... I just know that when the fish begins to flake and comes apart easily, it's done.  I would estimate about 6-9 minutes on the stove top and 15-20 minutes in the oven.  

When the salmon is mostly cooked through, I add Hoisin Sauce to the pan and garish with some green onions.  Allow to cook another minute or so, to heat up the sauce and cook onions a bit.  And here's the finished meal!  
I like to supplement this meal with corn on the cob and biscuits or breadsticks... and of course, a good glass of wine.  Enjoy!

Beading

Well, hello January! Since you are just about over and all...

Obviously New Year's resolutions aren't my strong point.

Onto some success stories! I made a lot of Christmas gifts that my family members loved! My Aunts and Uncles really enjoyed the ornaments I made for them. They were quite an upgrade from the last ornament I made them, say, oh, twenty years ago. Glass instead of styrofoam- yipee!

I made about ten pairs of earrings, which of course I didn't take pictures of.  I suppose I'll just have to recreate them. However, I do have four new pairs I just finished and I do have pictures of those!

I found these red glass beads at JoAnns over Christmas break and thought they were really neat.


The beads at the bottom of these have little rose pictures painted inside. They were too pretty to pass by at a speciality beading store I found in Winchester.


I made the following two on the same day. The pink ones look like mother of pearl. The green ones were inspired by a pair of earrings my friend made me for my birthday.


So I think I need to find a better way to display these because I'm hoping to make more and perhaps sell online. Or, perhaps I'll just keep them for myself  :)

Monday, December 24, 2012

A Tribute to the Dentist

At 7:35 AM on the morn of  Christmas Eve most children were snuggled in their beds dreaming of sugarplum fairies and most adults were drinking coffee by a tree or doing last minute Christmas shopping, I was doing none of those things. Instead, I was reaping the consequences of too many sugar cookies during the month of December and getting THREE cavities filled. Three.

In all reality, it was as pleasant as a trip to the dentist could be. My dentist is funny, kind, and gentle, and she even gave me a stuffed bunny to hold while my cavities were being filled. I wanted to ask to take a photo of the fluffy bunny for this post, but I had already made the stuffed bunny wave to the dental hygienist when she walked in the door and dance to that "Last Christmas" song on the radio, I figured taking a picture would be one step too far.

My only purpose in writing this blog is to share the ridiculousness of getting cavities filled on Christmas Eve and to make a little tribute to the dentist. Below is a paper I wrote for a college creative writing class and I thought it was rather appropriate to share today.


The Dentist: Friend turned Foe?
I have good news and bad news. Even though people usually say they want to hear the bad first, I’m going to go ahead and start with the good news: you get to leave work early. The bad news? You have a dentist appointment. You could be leaving work early to go to the dentist for a number of reasons: a root canal, a broken tooth, or you might just want to take advantage of your health insurance in combination with your paid sick leave and get out of work at two instead of five. Perhaps you are scheduled just for a regular checkup; possibly during which your dentist will offer you a choice between gritty flavored toothpastes, such as cherry or fruit punch.  After that tough decision has been made, your dentist will proceed to scrape your teeth with some invasive metal instrument. Maybe you need a cavity filled, which will most likely end with your dentist giving you the sage advice that you really should be flossing more.
I have to bring it up . . .the smell. You can smell the dentist’s office while you are still standing outside. Even Mother Nature cannot conquer the stench. It is potent enough to cover up the smells of the fall leaves, the fresh grass, blooming flowers, or new snow. I googled what this smell is and found many Facebook pages dedicated to the hatred of the dentist office smell, multiple studies on how this smell evokes fear in people, and a list of origins for this smell which includes an extensive list of unpronounceable chemicals . . .and bone. Yes, bone. Part of what you smell when you enter a dentist’s office is the bone of the teeth that were drilled out of those who have come before you.
One Thursday afternoon, I was making my very own trip to the dentist to get a cracked tooth fixed. After I made it through the force field of the too recognizable stench that protects the door to the dentist office, I found myself alone in the waiting room with nothing but four other empty chairs, a plant posing as a miniature tree in the corner, and a magazine holder hanging from the wall to keep me company. There was no music playing, no mother comforting a crying child; all I heard was the sound of the drill. Having music playing in the waiting room at the dentist’s office is not an innovative idea; it is common sense. So, I went to the magazines. Reading about celebrities’ lives in People or UsWeekly is a guilty pleasure and a waiting room gives a justifiable reason. No luck. I found Better Homes and Gardens, Ladies Home Journal, Family Circle, and Woman’s Day. I have neither husband nor garden. And what were to happen if a man needed to get a cavity filled? Or, maybe all of the men just floss regularly.
During my lunch break on that Thursday, I was talking to my coworkers about the fact that I was going to leave early to have my broken tooth fixed. The third grade teacher told me to bite my dentist. The fifth grade teacher told me she would rather go to the gynecologist than the dentist. Is the dentist really such a pure form of evil? I don’t get this stream of negativity when I talk about other doctors, such as a foot doctor, skin doctor, or eye doctor. Then again, an optometrist doesn’t have to drill into my eyeballs. I remember the next comment as if it were a preview to a bad horror movie. Almost in slow motion, the sixth grade teacher looked up form her sandwhich (mid-bite) and had a look of warning in her eye as she said to me, “If I had to battle the devil or the dentist, I’d choose the devil.” 

Sunday, December 16, 2012

Eat Your Colors!

Usually referring to vegetables, but in this case...cookies!
My cousin sent me a text yesterday that said, "you can never have too many women in one kitchen." Clearly, she was being sarcastic because we all know too many women in a kitchen is a recipe for disaster. However, yesterday I had a day of success with lots of babies, girls, and women all baking in one kitchen.
The women in my family have a christmas cookie baking party every year, as many families do. Mothers, daughters, granddaughters, nieces, and cousins all come together bringing either their recipe or their dough to make their cookies. Some are old favorites, like the peanut butter balls, and some are new experiments, like the red velvet cake cookies.

Cookie parties are a great way to share recipes with one another, learn how to bake a new cookie, and spend some quality time with people you love. Some tricks we've picked up to make it a success and not a war zone:
1. Make your dough the night before.
2. Bring your own supplies (mixing bowls, measuring cups, ingredients, candies, etc)...and some extras for those who forgot.
3. Delegate easy cookie decorating tasks to small children, like rolling in powdered sugar and sprinkling toppings on.
4. If you can, pick a kitchen that has more than one oven.
5. Organize the order of the baking of the cookies via temperature (i.e. start with the 350's first and work your way up).
7. Ask the people who don't like to bake to be the dish washer-ers.
8. Go for a run before the party and eat a very healthy breakfast so you can eat cookies the rest of the day.
9. Have a designated area for all of your finished cookies to cool.
10. Be patient, take pictures, and its ok if your cookies don't turn out. You'll end up with way too many when the party is over, anyway.


Look at all those colors! We laughed, baked, and ate, and when the party was over, everyone took home a wide variety of cookies filled with memories, yumminess, love, and sugar.

Saturday, December 15, 2012

Glitter Ornaments

Who loves sparkly, glittering ornaments all over their tree? I do! Who hates all that glitter that inevitably falls off said ornaments, coats everything within ten feet, and leaves traces all over your house with no hope of removal? I do!

Please stop asking these obvious questions, you are probably thinking right now.

Voila! I have a solution and I'm just tickled that I sort of thought of it all on my own (meaning it wasn't something I directly found on Pinterest).

A couple weeks ago I bought a package of six clear glass ornaments from Michaels ($3) figuring I would find something to do with them.


The first one was a pinspiration. I cut up old Christmas cards in strips, twirled them around a pencil and slid them into the ornament. Nothing too difficult and some friends were impressed, but I felt it didn't scream amazing.

Yesterday I got together with some friends for a crafty afternoon and I brought my ornaments. I had been playing around with the idea of "glittering" them, but I still wanted to be able to write on them or stencil. Also, the thought of glitter all over me for days was a bit nauseating. Here is the finished product (pre-stenciled)


I think they are really neat!

The finished one below I just added some really cute snowflake scrapbook sticker embellishments. They have little blue rhinestones on them. It was perfect for my ornament exchange party, except that I sort of wanted to keep it for myself.


Here is what I did and what you'll need: Clear glass ornament, Mod Podge (I made my own- equal parts water and Elmers glue), and glitter (I used embossing glitter, which is finer, but any glitter would probably work).

First you need to coat the inside of your ornament with a very thin layer of Mod Podge. Remove the metal top. I poured a tiny bit in, shook it around, and even put a little water in to make it thinner and so it coated the entire inside. Make sure you empty out any extra liquid- otherwise you will probably get clumps. Next you pour in glitter. A funnel would probably help, but I didn't have one and made a little bit of a mess. I poured in a little at a time and shook it around with the metal top back on. I removed the metal prongs that hold the top on so it doesn't scratch the wet glitter on the inside. Keep this up until the entire inside of your ornament is covered. Leave the top off and let dry overnight. Wow! Now you have this gorgeous little ornament you can write little messages on the outside, and give them as gifts without friends groaning at the thought of sparkles!

Wednesday, December 12, 2012

The 12 Gifts of Christmas

So I was trying to come up with a gift for my husband for Christmas this year and couldn't think of anything! I was searching the web for ideas when I came upon the coupon book idea. I liked this idea, but I wanted to give something a bit more tangible, so I decided to give the 12 Gifts of Christmas. One gift for every day leading up to Christmas. I liked some of the ideas other women came up with for their coupon books, so I incorporated some of those ideas such as, a back massage and breakfast in bed. I also came up with some of my own ideas such as his favorite candy, a gift card to Subway for lunch that day, a dinner of his choice, etc.

To dress up the little cards I made for each day, I got some bell garland from the Dollar Store. I cut out each bell and laced the bells to the cards with some red ribbon.


His free lunch!

                                                                  His favorite candy!


I can't wait to start the 12 Days of Christmas!!!